If you’re like me, you’re excited about the new Tailwind UI from the makers of the popular utility-driven CSS framework Tailwind CSS.
Unfortunately (and honestly I don’t blame them), the makers chose Alpine.js for its simplicity and declarative coding style. This presents a small issue for those of us who are used to using Vue.
Alpine.js to Vue translation
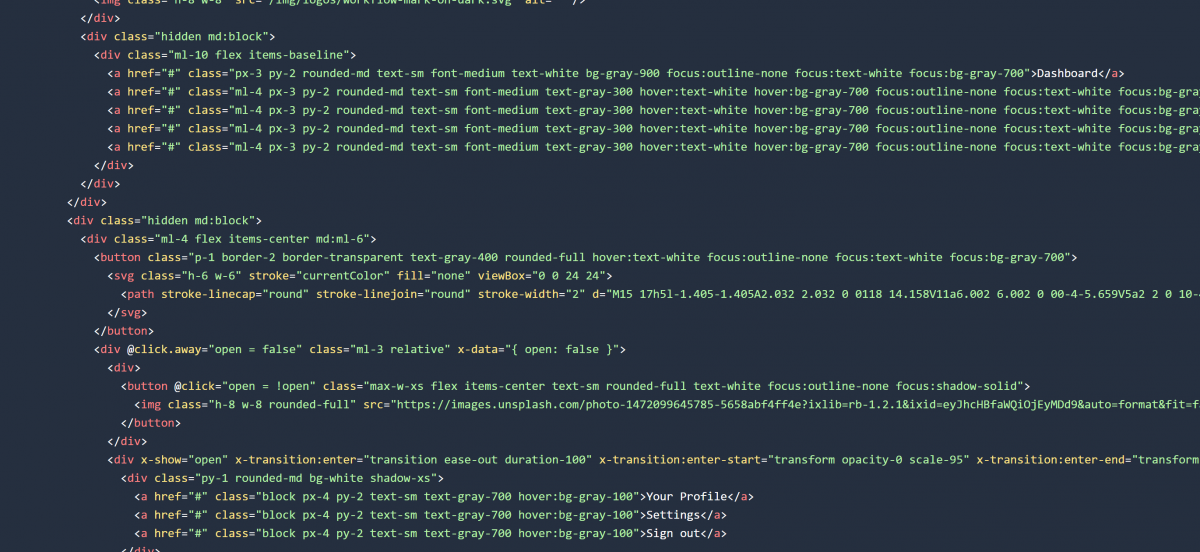
Let’s use this partial from the sample Tailwind UI stacked application shell as our example:
<div
  x-show="open"
  x-transition:enter="transition ease-out duration-100"
  x-transition:enter-start="transform opacity-0 scale-95"
  x-transition:enter-end="transform opacity-100 scale-100"
  x-transition:leave="transition ease-in duration-75"
  x-transition:leave-start="transform opacity-100 scale-100"
  x-transition:leave-end="transform opacity-0 scale-95"
  class="origin-top-right absolute right-0 mt-2 w-48 rounded-md shadow-lg"
>

  <div class="py-1 rounded-md bg-white shadow-xs">
    <a href="#" class="block px-4 py-2 text-sm text-gray-700 hover:bg-gray-100">Your Profile</a>
    <a href="#" class="block px-4 py-2 text-sm text-gray-700 hover:bg-gray-100">Settings</a>
    <a href="#" class="block px-4 py-2 text-sm text-gray-700 hover:bg-gray-100">Sign out</a>
  </div>

</div>
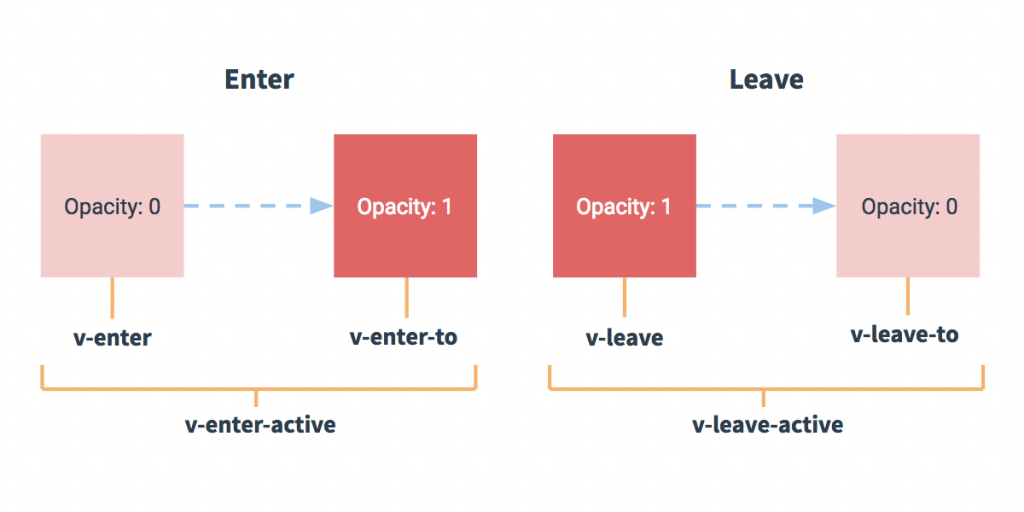
All those x- attributes are Alpine.js statements. We’re interested in the ones that start x-transition as they define which classes to use during which stage in the transition. Notice that Alpine.js transitions are declared on the element itself, in this case the root <div>.
Fortunately, Vue uses a similar syntax so it’s easy enough to understand, but the implementation of transitions is handled a little differently, requiring a <transition> element as wrapper. Here’s the exact same code using Vue:
<transition
  enter-active-class="transition ease-out duration-100"
  enter-class="transform opacity-0 scale-95"
  enter-to-class="transform opacity-100 scale-100"
  leave-active-class="transition ease-in duration-75"
  leave-class="transform opacity-100 scale-100"
  leave-to-class="transform opacity-0 scale-95"
>

  <div x-show="open" class="origin-top-right absolute right-0 mt-2 w-48 rounded-md shadow-lg">
    <div class="py-1 rounded-md bg-white shadow-xs">
      <a href="#" class="block px-4 py-2 text-sm text-gray-700 hover:bg-gray-100">Your Profile</a>
      <a href="#" class="block px-4 py-2 text-sm text-gray-700 hover:bg-gray-100">Settings</a>
      <a href="#" class="block px-4 py-2 text-sm text-gray-700 hover:bg-gray-100">Sign out</a>
    </div>
  </div>

</transition>
As you can see, I moved the transition attributes up to the <transition> element and dropped the x-transition: prefixes. I also had to rewrite the attribute names, as the two frameworks use different naming conventions:
| Transition | Alpine.js | Vue.js |
| entering (start to finish) | x-transition:enter | enter-active-class |
| begin entering | x-transition:enter-start | enter-class |
| finish entering | x-transition:enter-end | enter-to-class |
| leaving (start to finish) | x-transition:leave | leave-active-class |
| begin leaving | x-transition:leave-start | leave-class |
| finish leaving | x-transition:leave-end | leave-to-class |
If your Vue transitions aren’t working, make sure you moved them into a parent <transition> element.
For further information on these states, check out either the Vue or Alpine.js documentation.
Reusing transitions
Of course, we might like to re-use those transitions in various parts of our app. Refactoring involves assigning a name to the <transition> element, and moving the transition classes to your stylesheet prefixed with that name. We’ll call this transition “fade”.
<transition name="fade">
  <div x-show="open" class="origin-top-right absolute right-0 mt-2 w-48 rounded-md shadow-lg">
    <div class="py-1 rounded-md bg-white shadow-xs">
      <a href="#" class="block px-4 py-2 text-sm text-gray-700 hover:bg-gray-100">Your Profile</a>
      <a href="#" class="block px-4 py-2 text-sm text-gray-700 hover:bg-gray-100">Settings</a>
      <a href="#" class="block px-4 py-2 text-sm text-gray-700 hover:bg-gray-100">Sign out</a>
    </div>
  </div>
</transition>
In your main stylesheet, add in the transition classes prefixed with fade-. If you use a different name for your transition, prefix your classes with that instead. Note that we can combine several classes as well. Tailwind makes it easy with the @apply directive. This block should be added directly after @tailwind components in your main stylesheet.
.fade-enter-active {
    @apply transition ease-out duration-100;
}
.fade-enter,
.fade-leave-to {
    @apply transform opacity-0 scale-95;
}
.fade-enter-to,
.fade-leave {
    @apply transform opacity-100 scale-100;
}
.fade-leave-active {
    @apply transition ease-in duration-75;
}
Now we can re-use these anywhere in our interface just by wrapping the element with <transition name="fade">. That’s all there is to it!
Thank you very much for taking the time to write this!